In this activity, technology is used to create and present participants’ drawings of birds. In doing so, they can gain more confidence in their drawing, and lead into discussions about anatomy, habitat and species endangerment in birds.
The Activity
Artform/Type of Activity
- Drawing
- Photography/ digital lens based work
- Mini installation
Objectives/Outcomes
- To introduce participants to the creative use of technology by creating temporary installations, incorporating more familiar activities such as drawing
- To reinforce learning about species/ the environment/issues such as threatened or endangered wild populations
- To promote confidence in drawing
- To explore positive/ negative/ inverse images
Materials Required
- Pictures of birds, one per participant – the RSPB list of endangered birds, The Red List, can be used
- Tracing and drawing paper
- Pencils, sharpeners, rubbers
- Black liner pens
- Digital camera with a negative setting; this can be checked in the camera’s menu, the manual and/or the online manual for your make/ model of camera. Alternatively, images can be downloaded to computer/s then inversed through use of Photoshop or other image manipulation software.
- White spherical paper lanterns/ lamp shades (approx 12” diameter)
- Data projector
- Laptop and cables to attach projector etc (extension cable, VGA)
Space Requirements
Classroom/ workroom with enough table top space for participants
A space that can be darkened for the final show
Activity Instructions
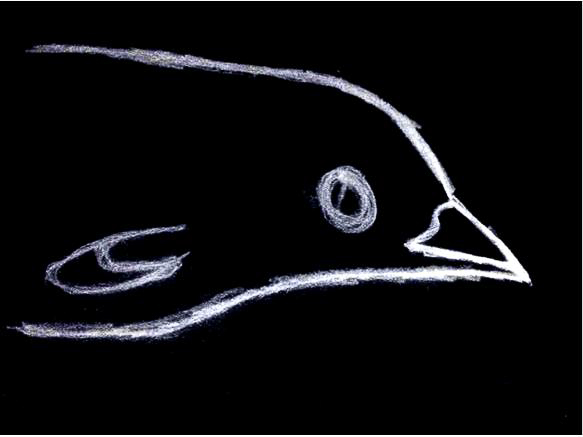
- Each participant chooses an image of a bird and traces it using tracing paper, adding as much detail as possible.
- Transfer the traced image on to white drawing paper by placing the traced image drawing side downwards, on to the drawing paper and rubbing hard (using a pencil or similar) over the back.
- Refine the new image, then go over it with a fine black liner pen – remaining pencil marks and smudges can be cleaned off.
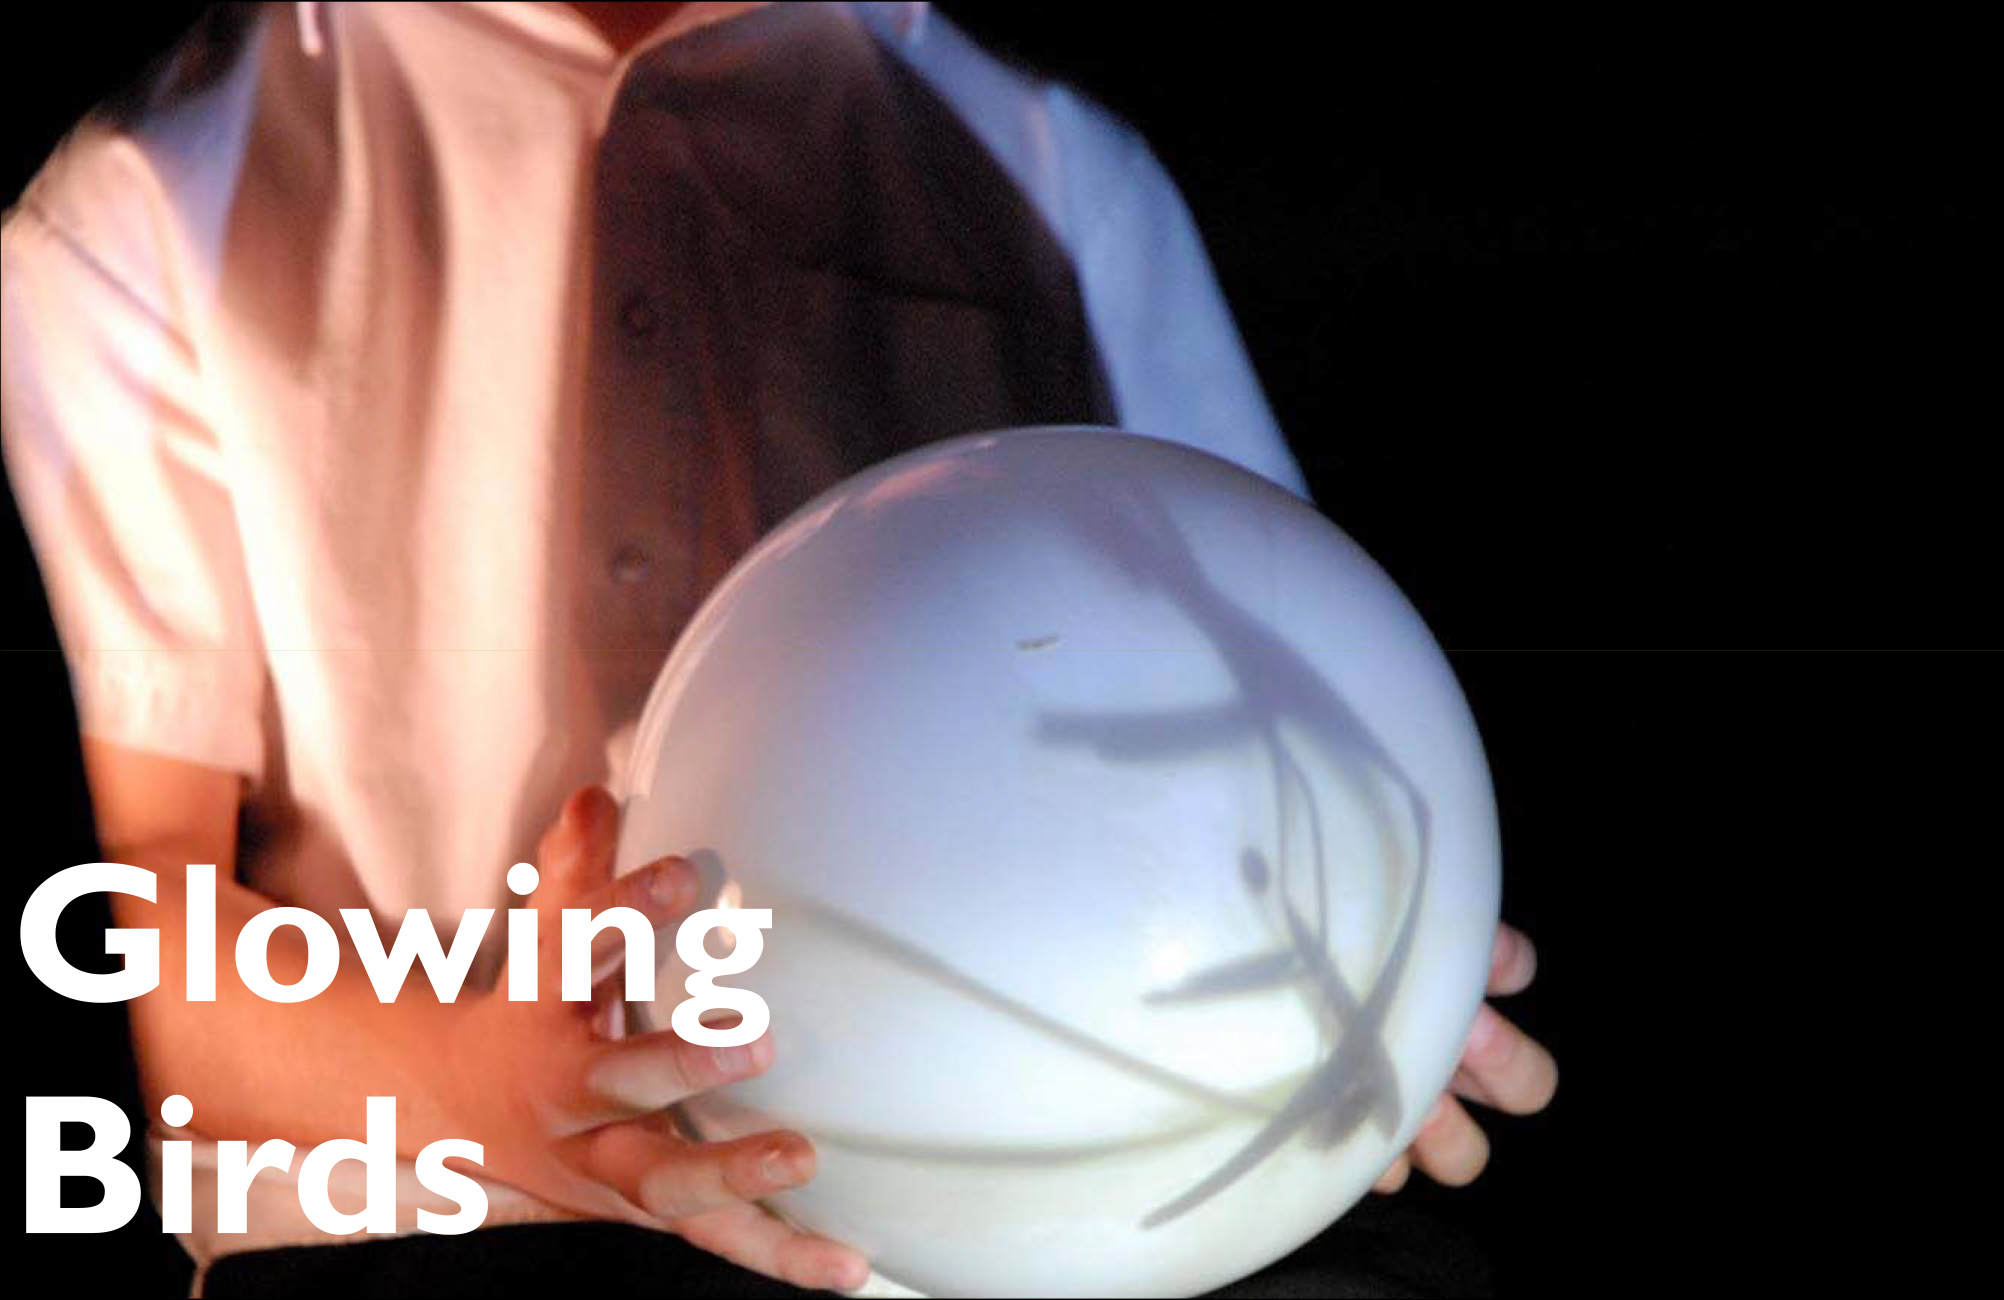
- Photograph the pen-drawn images using the negative setting on the camera. The photographed drawings should appear white on a black background.
- Upload the photographs onto the laptop and rotate/ orient them to landscape format.
- Create a slideshow (for PC select all images and use ‘create slide show’ function).
- A participant holds up the paper lantern as the projection surface, and the images are projected on to it.
- This is your first installation.
- The group can discuss developments – bigger/ more lanterns/ projection surfaces; other unusual projection surfaces; adding sound/s; adding words; exploring what type of images work best as projections; developing a short performance piece and so on.
- A further development could be to experiment with projecting the images round the room using mirrors.
- (Obviously these image generation/ projection techniques can be used to explore and enhance many topics and areas of the curriculum; these exercises are also a great way to develop team work and to develop skills in the use of technology.)
Curricular Links
Links to Art and Design through: observation; photography; design and technology
Links to Science through: biology; use of digital technology
Links to ICT through: design and technology
This resource was designed as part of the Green TV project.
PDF Work Sheet
See our A to Z of creative activity resources here.
Funded By
The creation of this resource was made possible by funding from the Heritage Lottery Fund.
